Helllooooo :)!
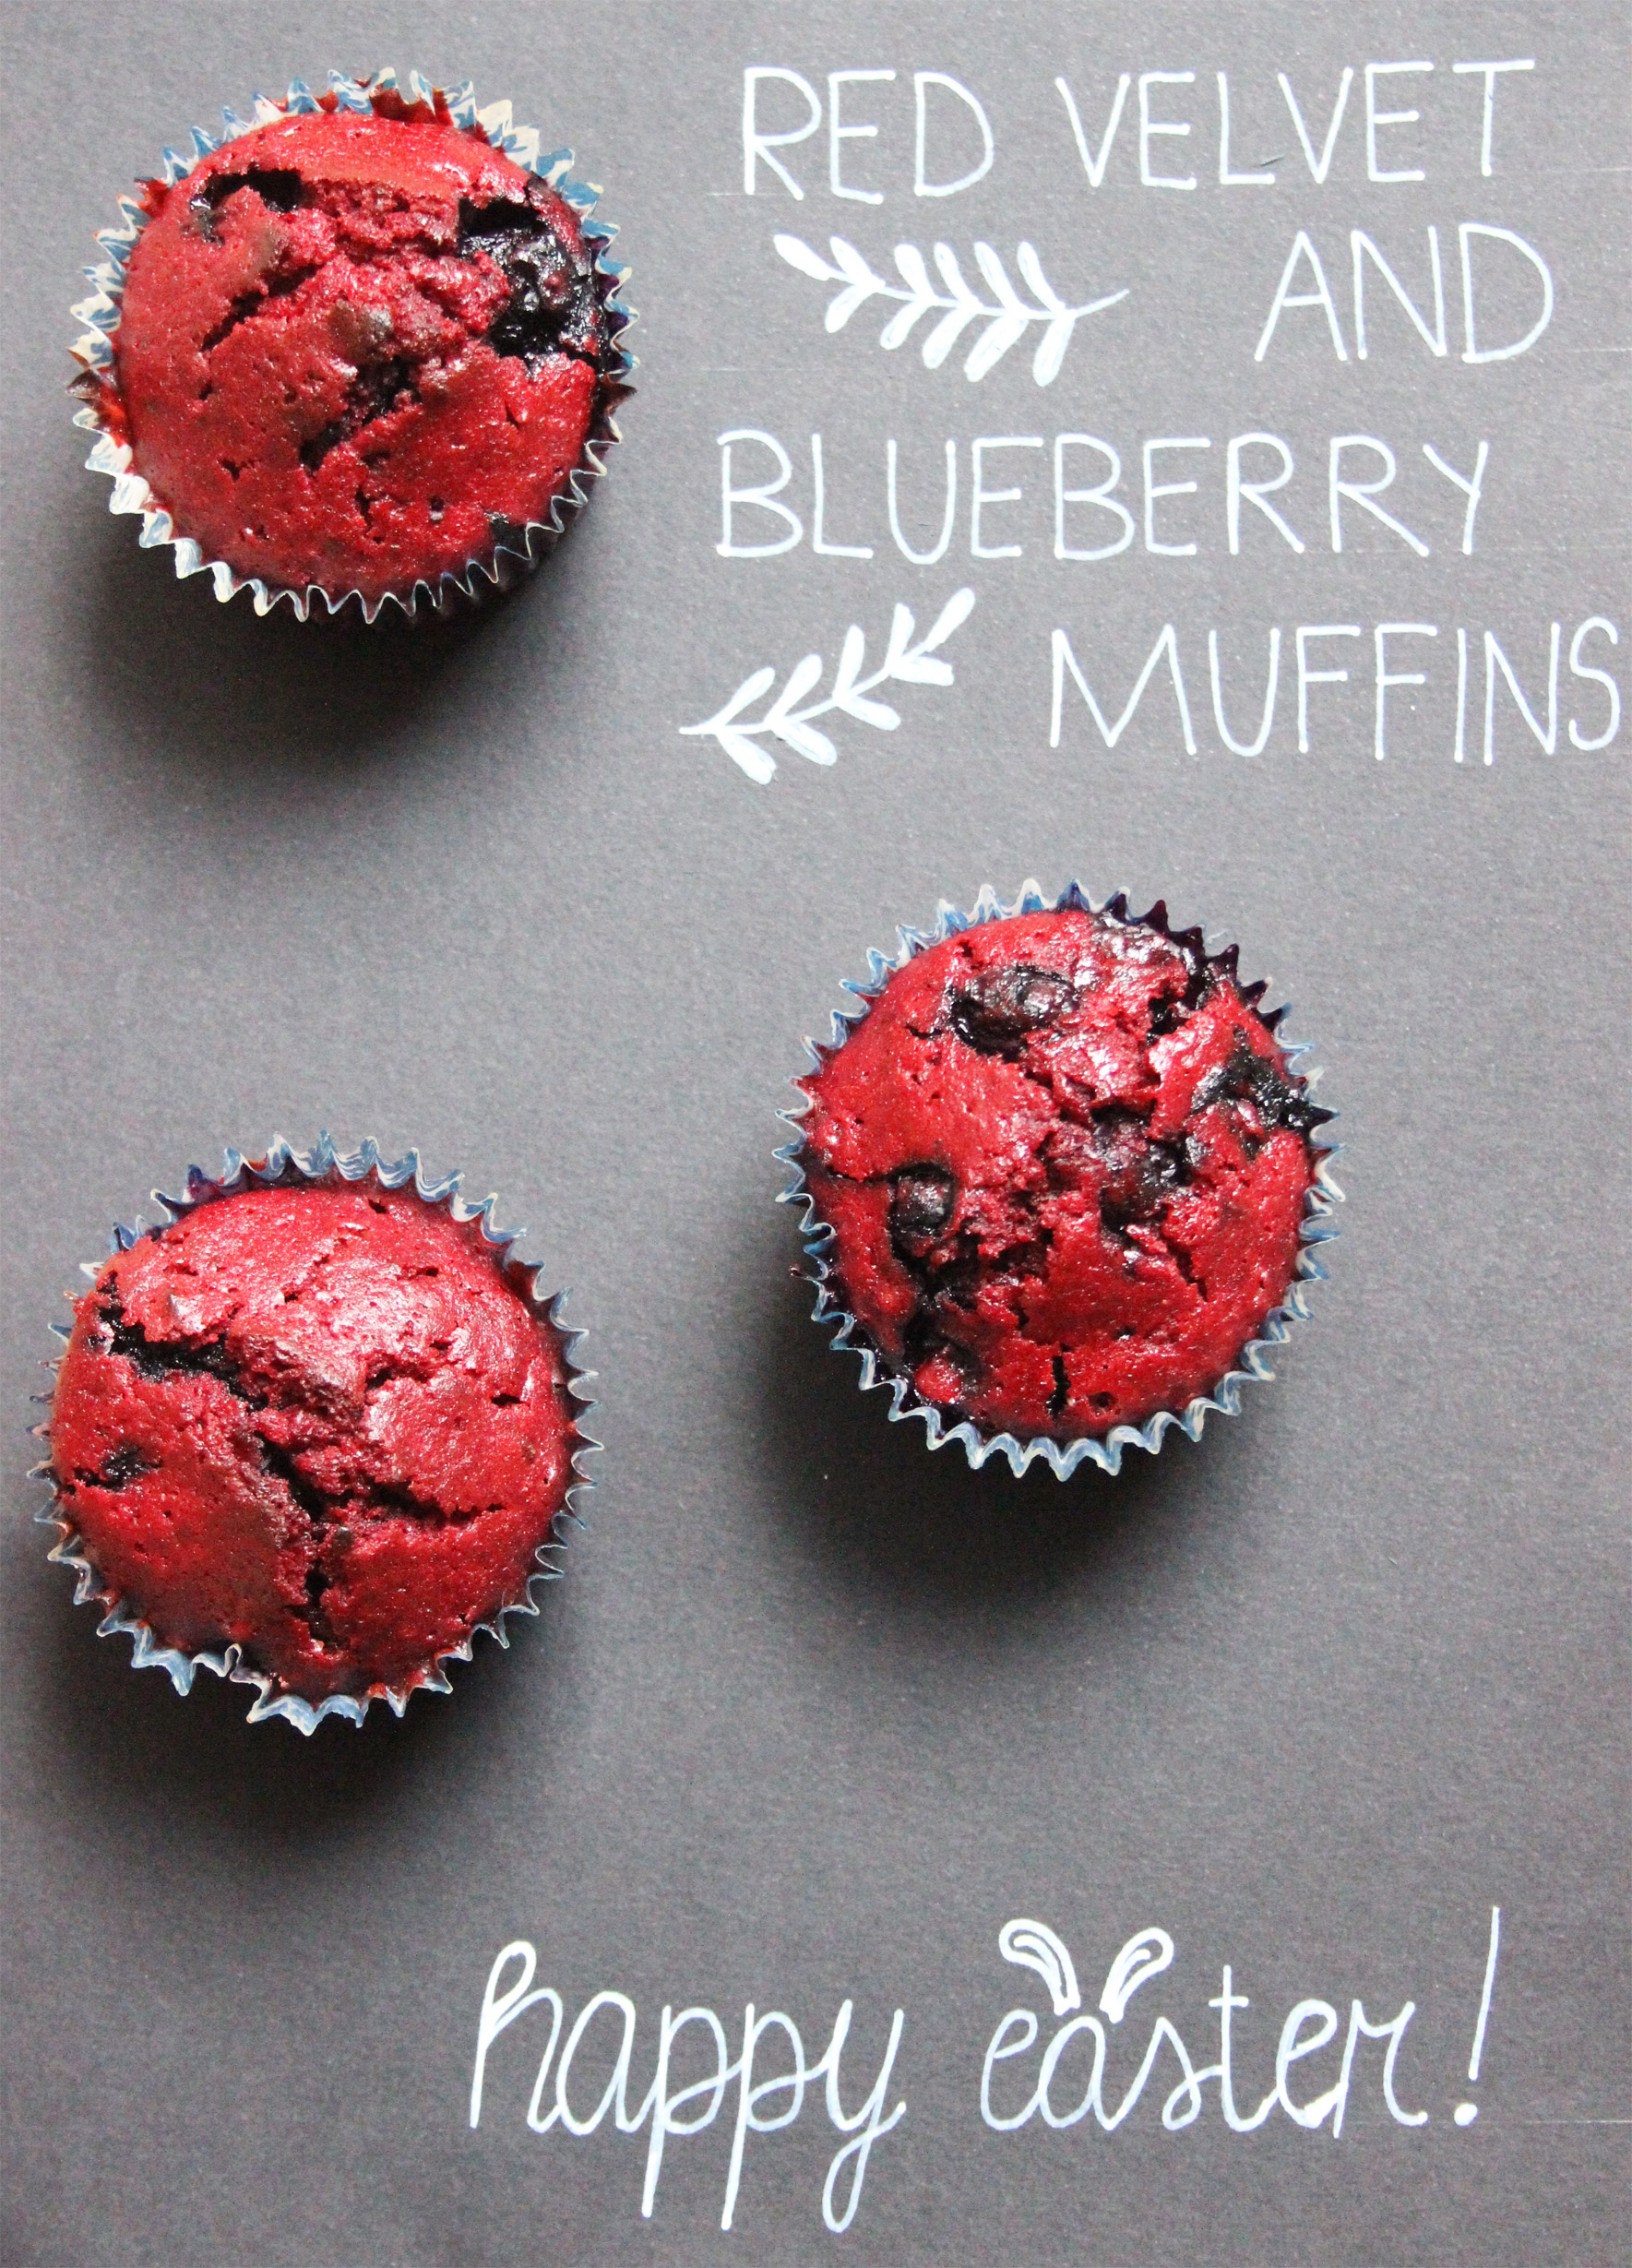
So many things happening at the moment! But of course I want to take a moment to bake something this week as well :)! This week I made red velvet and blueberry muffins. Red velvet muffins have been popping up more and more the recent years – so you might think ‘oh no – she did not get into this trend as well…’. However, for me there are lots of good memories and stories connected to red velvet cake or muffins.

Let me begin at the beginning (I feel a bit like Ted from How I Met Your Mother right now – if you have watched it haha), ‘it all started on shortly before my eighteenth birthday (which is almost 2 years ago…)’. Because turning 18 feels a bit more special than your average birthday, I wanted to celebrate it by having a ‘fancy’ dinner with cocktails and cake with my friends. I was very lucky – because in June an awesome friend from the USA had arrived in Amsterdam and was staying with us for a couple of months, while doing graphic design work for a company in Amsterdam (yes – he is doing what I would love to do after my degree – so he is a great source of inspiration). Let’s call him by his name haha, Seth.  Seth was very excited to help me out with my birthday party and a brilliant source of enthusiasm for every single detail of the dinner. We created cocktails together, he designed my menu’s, we got things to decorate everything (within a colour scheme).And he introduced me to red velvet cake. I had never had red velvet cake before, and did not know what was so ‘special’ about it besides being bright red. Nevertheless, Seth convinced me to try Jamie Oliver‘s recipe for Red Velvet Cupcakes (making it into a cake instead of muffins) to have as my birthday cake (he had brought Jamie’s America with him as a gift). And this cake turned out to be divine – my friends loved it. The rest of my cocktail party was amazing as well – I could not have wished for a better way to celebrate my 18th birthday – so once again: Thank you, Seth!!
I also made this cake when my family came over for my birthday
– and it was literally g
one within 5 minutes (due to my slow slicing of the cake haha). So a pretty good cake you would say. I am not finished with my red velvet muffin story though (sorry – you might just want to scroll down to today’s recipe haha).
A couple of weeks after my birthday, I went to Canada to be a nanny. And when I came back I only had two months before leaving to Sydney. One of the first things when I came back from Canada was the question from one of my friends when I would make red velvet cake again – and I had to promise I would make it before I headed off again. So fair enough, when I had a goodbye-dinner a couple of days before I left, it was very easy to decide what to have for dessert: red velvet cake (but in the shape of a koala this time!) 
 Even though, the celebrating had more of a sad nature this time – the cake was delicious, helped a lot and the dinner was very nice! (And yes – got a koala hat to keep me warm in Sydney hihi)
Done yet? No – sorry, almost though! In my first year in Sydney, I asked my new friends if they ever had had red velvet muffins. And they told me that they hadn’t and asked me what is so special about them. Hmm… I actually found it hard to answer this question. For me, they obviously have a lot of memories connected to them. But they themselves are really nice as well. So let me try to describe them. They are very light in texture (velvet-like haha) and have a subtle but strong enough chocolate flavour to them. They are just really good, just try them haha – too hard to explain. And the same I did for my new friends – I decided just to make them, so they could experience them for themselves. They really enjoyed them too and so did my housemates.
Later, they were also one of the first bakes I made when I got together with Nic – and he really enjoyed them as well. Every time I made the muffins in Sydney, I got jealous messages from my friends in Amsterdam – demanding that I would make them as soon as I was back (I did also give them a recipe – but apparently they were much better when I made them haha – no I am not bragging). So when I was back in Amsterdam in February, we had a dinner in the last weekend before I left for which everyone made something. And I made my red velvet muffins again. They turned out really good and were yummy with the icing I made as well. The few there who had not tried them before (some of which a bit sceptical maybe of the red colour), enjoyed them as well. 
Now, this week. Why make them this week?
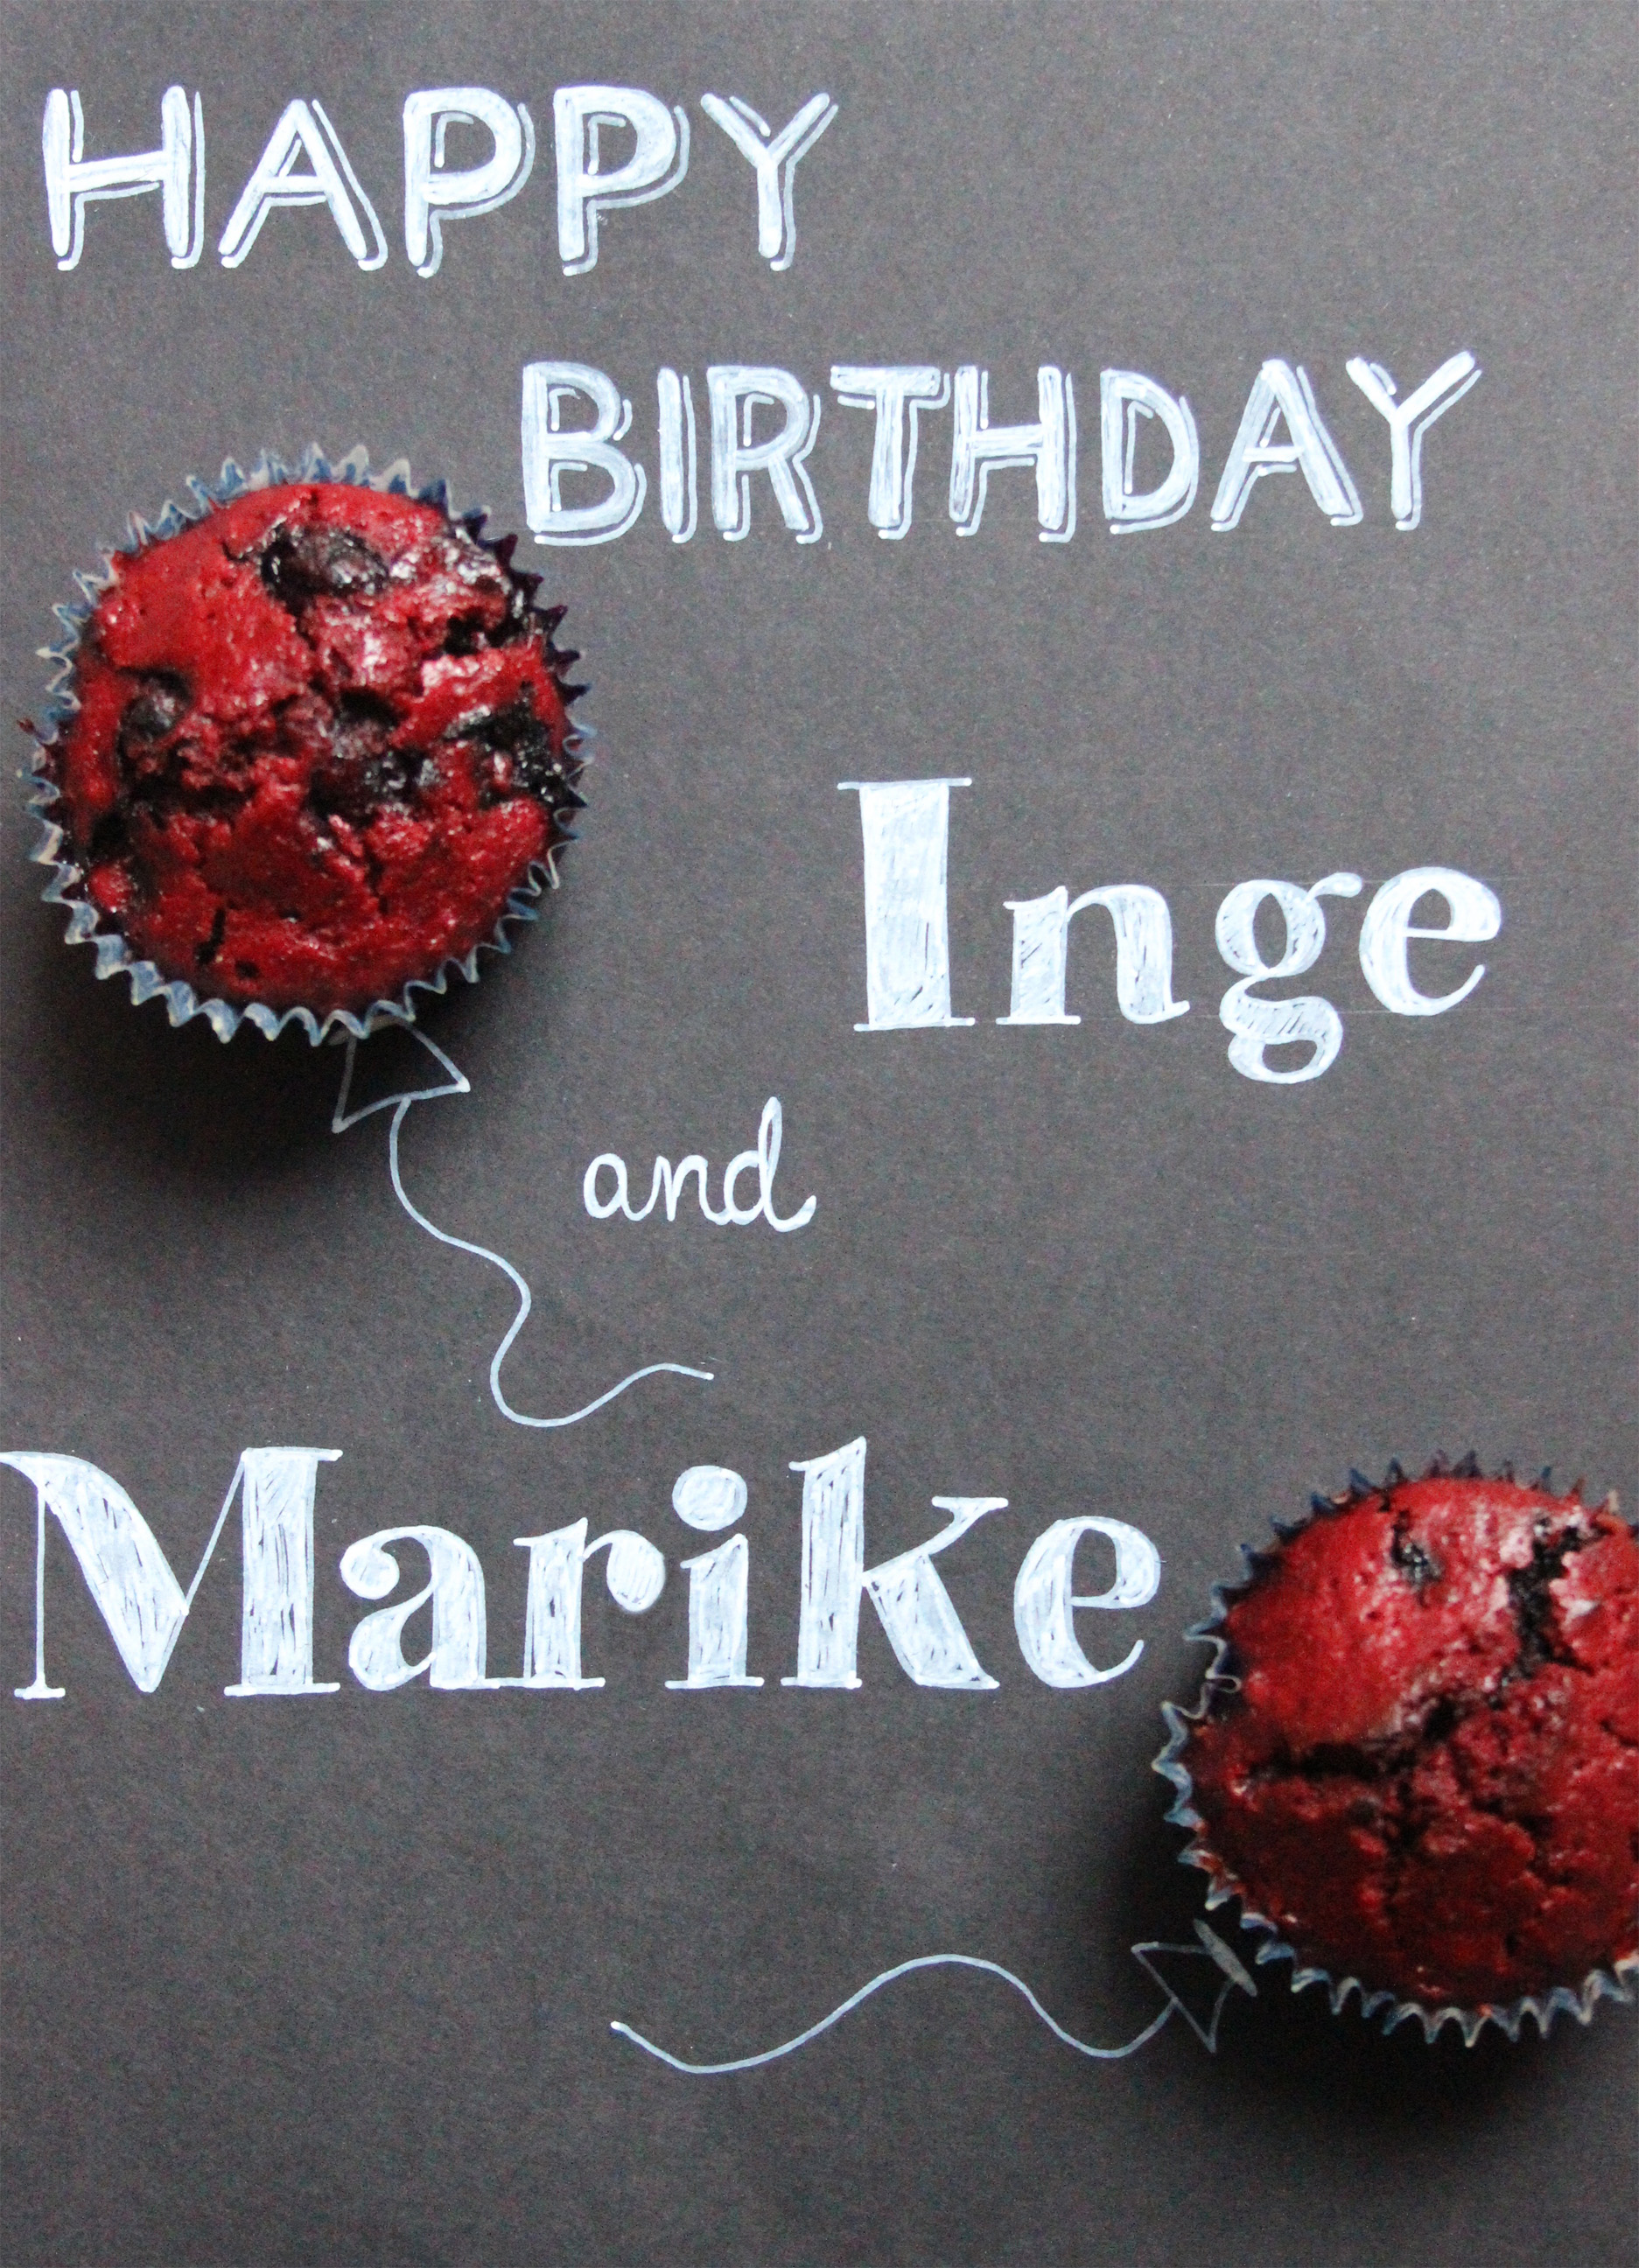
Well, you can obviously make them any week, since they are pretty divine.But this week is a good week to post them onto my blog since it is in the middle of the birthdays of two really good friends in Amsterdam, Inge and Marike (with whom I can be crazy at home and maybe a bit more civilized at the airport haha)
Inge’s birthday was last Friday – she had a fancy dinner this time and I got to be the designer designing her menu this time 🙂 which was a fun experience. But unfortunately I could of course not attend her dinner. Marike’s birthday is this Saturday and clearly I cannot celebrate it physically with her either. So therefore I decided to devote this post to them – wishing them an amazing, wonderful and awesome birthday and promising to make them red velvet muffins as soon as possible.
I did tweak my recipe a bit this time – altering it a bit more from the Jamie Oliver recipe. I added blueberries. Why? Because I really like blueberries and especially in light-textured cakes they make an awesome addition to my opinion. I also thought the blueberry and chocolate combination would work well, and the colour contrast would be cool! And of course, I like to experiment with recipes. So here you go. They actually turned out even better than I expected. The blueberries are an amazing addition and lift the red velvet muffins to the next level (is there a level about divine? Maybe galaxy-like haha?). If you want to have the pure red velvet muffin experience first, just leave the blueberries out. I used frozen ones, but I am sure fresh blueberries would work as well.
So, one more thing to address before I give you the recipe. Easter. Happy Easter to you first of all. And secondly, these muffins will keep Nic and me company on our road trip to my family in Mildura – where we are going for easter. I am very excited to see them all (and the cats and the new dog Moca) and really like that Nic is coming with me. The road to them is long though – about 1000km. So let’s hope that these muffins will make the trip a bit more bearable haha.

 I love the red colour – just so bright and happy!

 Bright colours – happy days!
Well, enough of my stories today. I hope you can make your own stories with these muffins and I would love to hear them! Enjoy!

Red velvet and blueberry muffins
Makes 15 muffins or one large cake
- 90g butter
- 240g caster sugar
- 2 eggs
- pinch of salt
- 4.5 tbsp red food colouring
- 4 heaped tbsp good quality cocoa powder
- 260g flour
- 3/4 cup buttermilk (or make your own by combining 3/4 cup of milk (can by diary-free milk – I used soy milk today) with 3/4 tsp of white wine vinegar)
- 3/4 tsp baking soda
- 2 1/4 tsp white wine vinegar
- 2 cups frozen blueberries
- Preheat the oven to 175°C. Line a muffin tin with muffin paper cups.
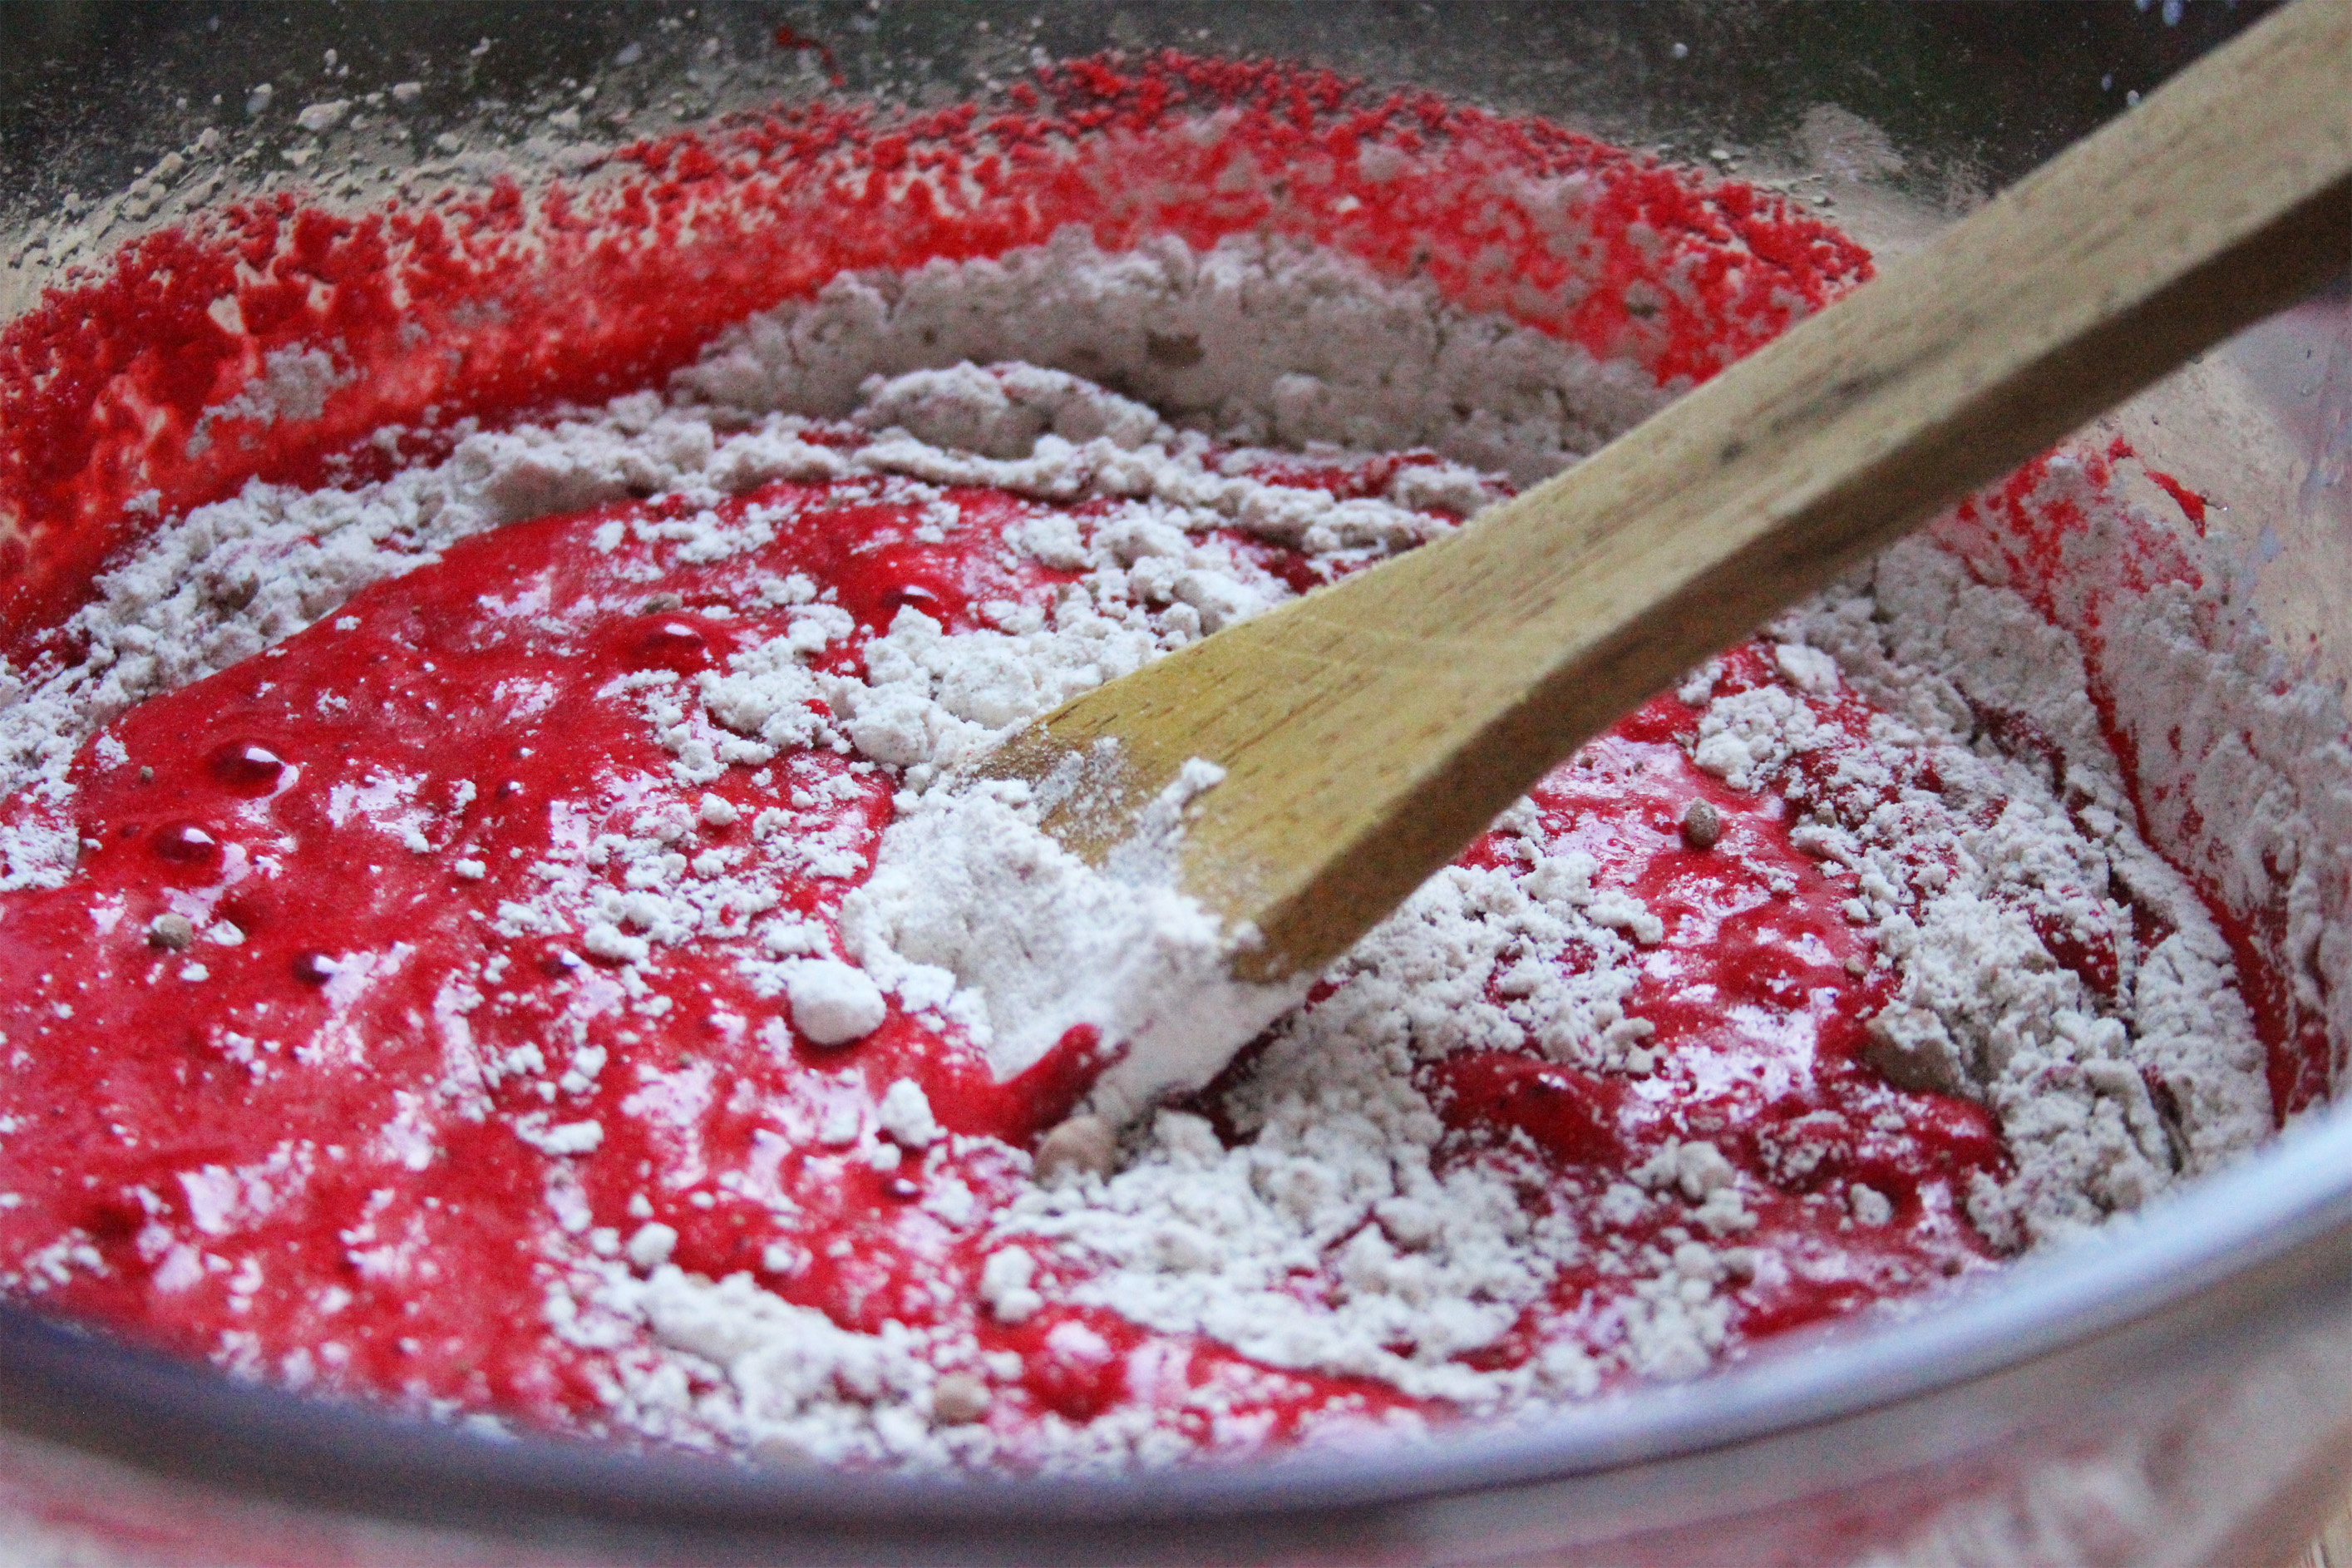
- Beat butter and the sugar by hand or with an electric mixer until light and fluffy and well mixed. Slowly add the egg and beat until everything is well incorporated. Add the salt and red food colour until you have a lovely bright red mixture.
- Slowly pour in half the butter milk and beat until well mixed. Fold in half the flour and mix everything well. Mix in the rest of the buttermilk and afterwards, fold the rest of the flour into the mixture. Beat until you have a smooth and even mixture.
- In a separate bowl, combine the baking soda and vinegar. Whisk it and it will fizz up. Add it to the batter and mix until well combined.
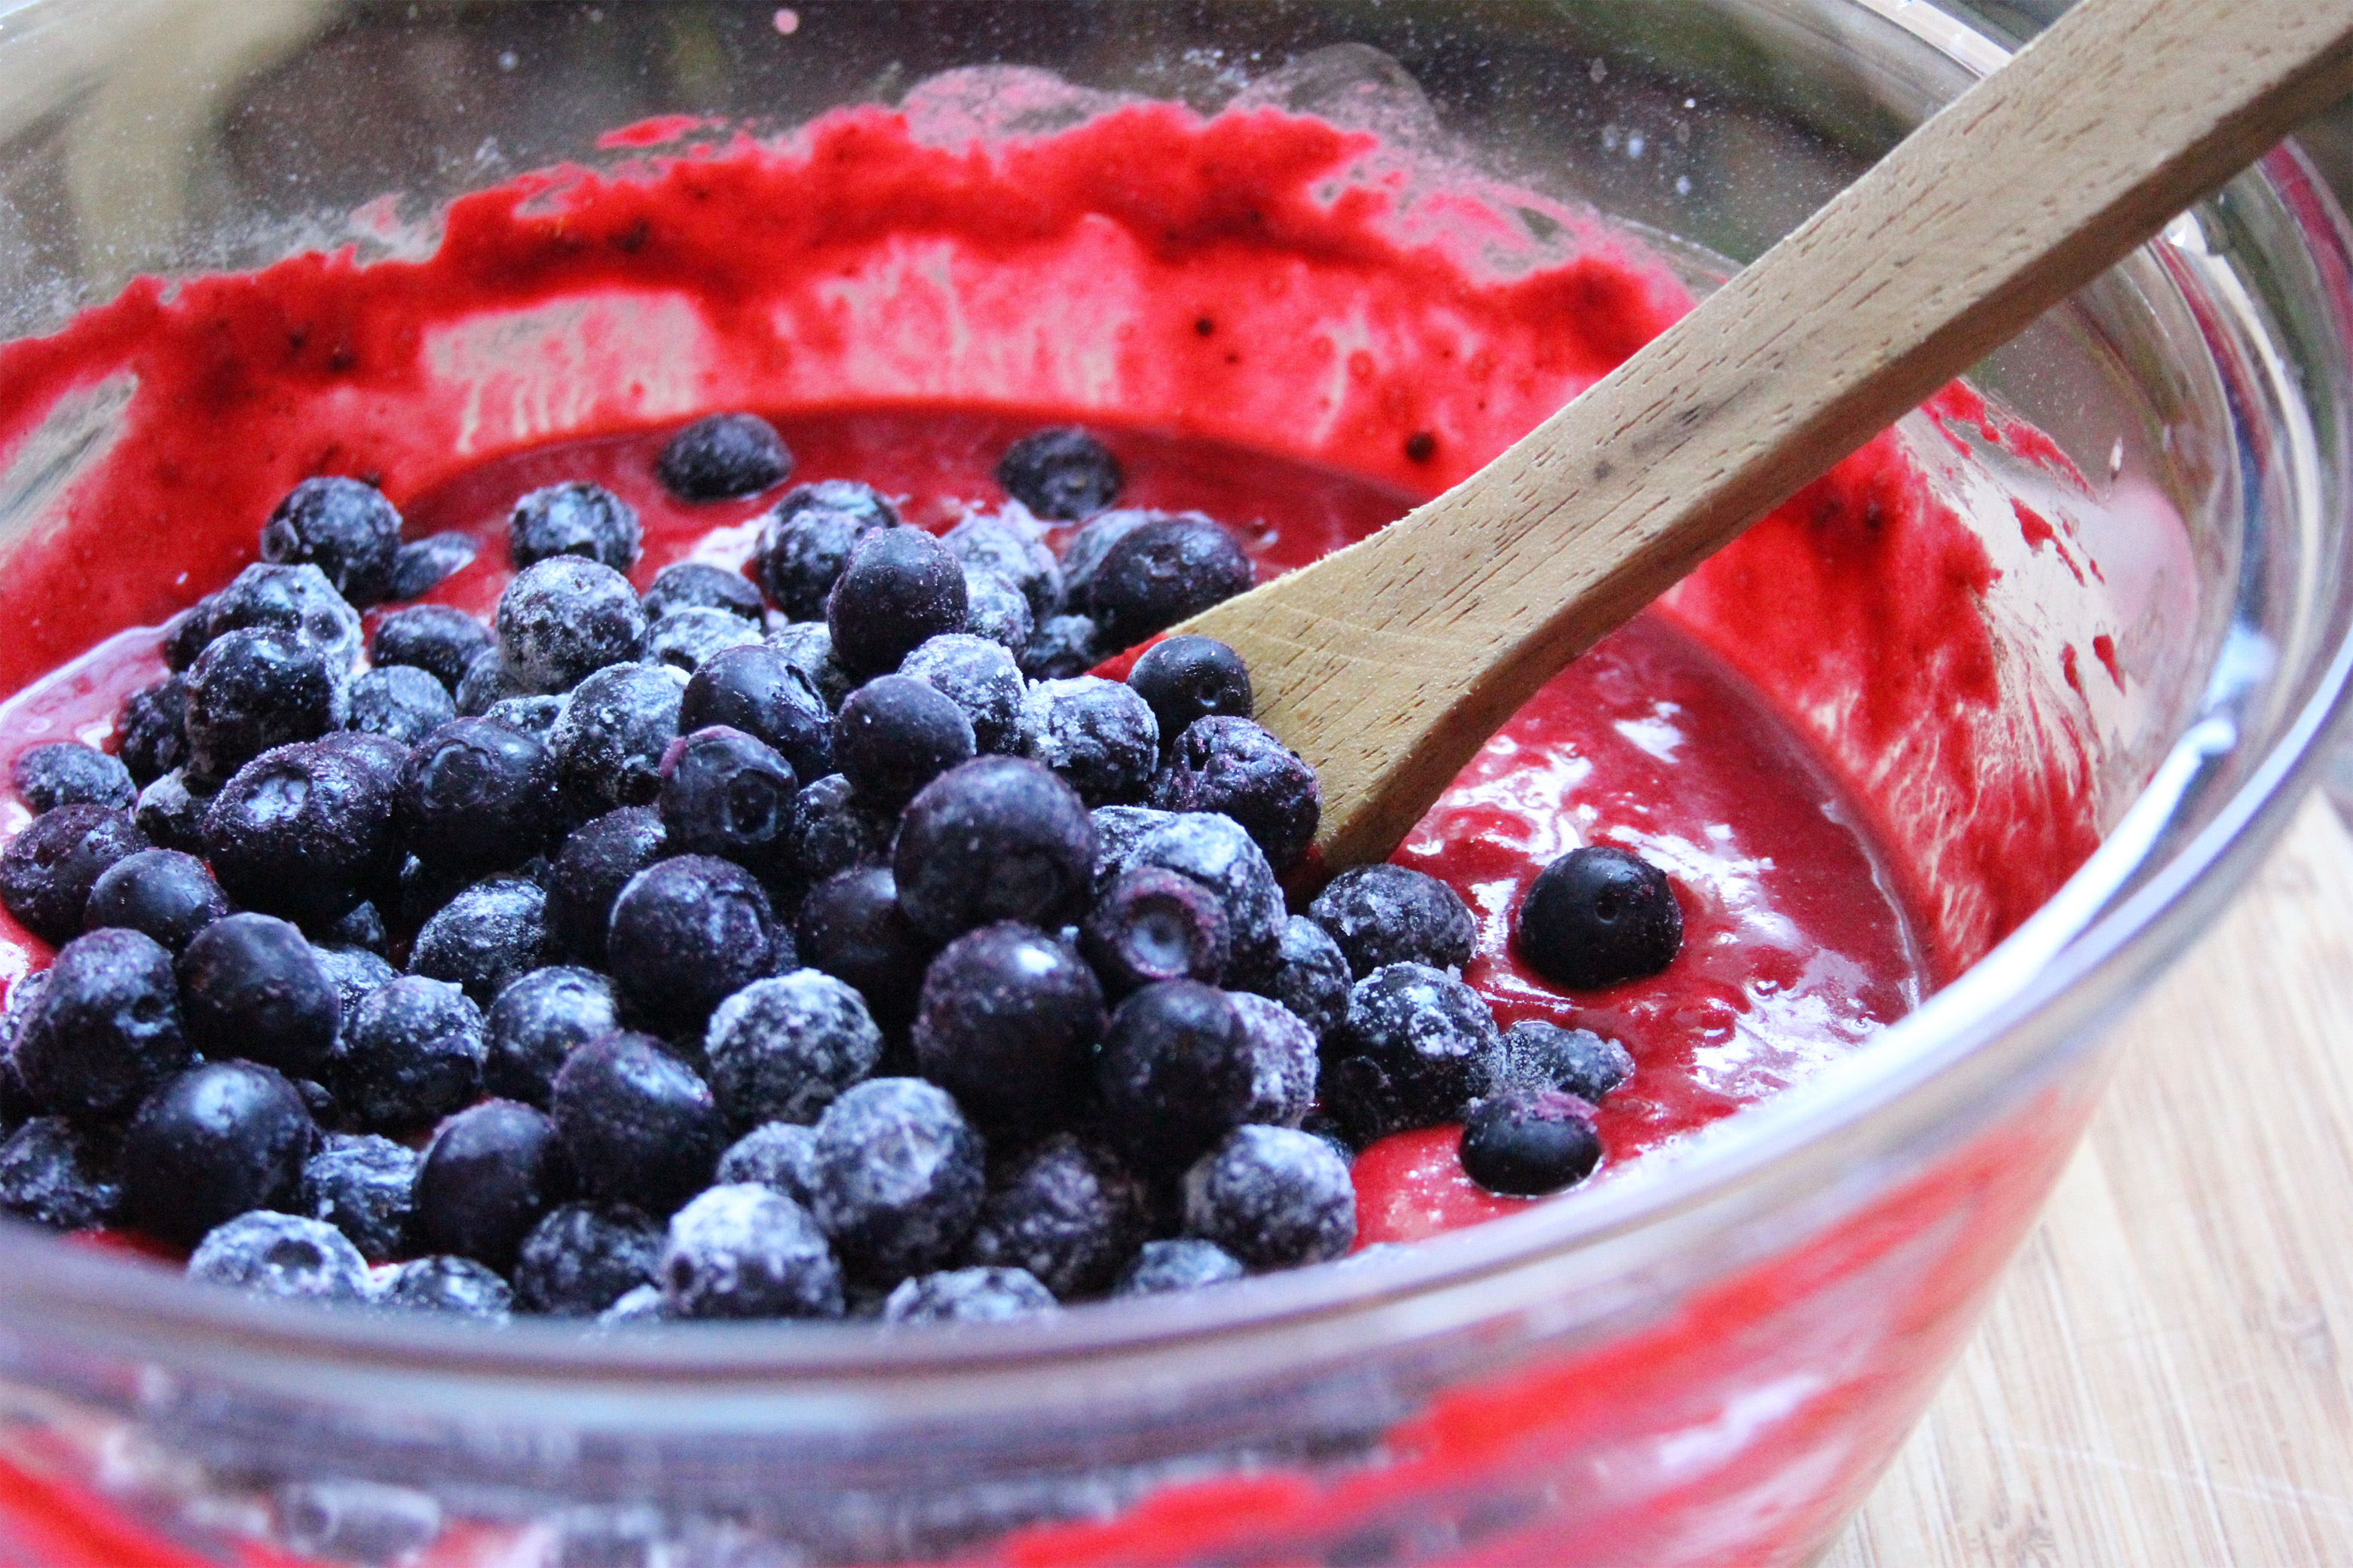
- Quickly rinse the frozen blueberries (do not thaw them before using them) and coat them lightly in flour. Add them to the batter and fold them in.
- Divide the batter over the muffin tins – bake for 30 – 40 minutes or until a toothpick inserted in the middle comes out clean (it can come out a bit red because of the food colouring and if you prick into a blueberry, your toothpick will be wet, obviously – so keep that in mind when checking).
- Leave the muffins in the tin for 5 minutes before transferring them to a cooling rack to let them cool completely (although they are yummy warm as well).
- Optional: after they have completely cooled down, you can cover them in frosting – you can use any recipe (with cream cheese or just butter), all work well!